Hey! Look more pictures! Wewt!
Place a brief summary of the page of images here?
|
|
|
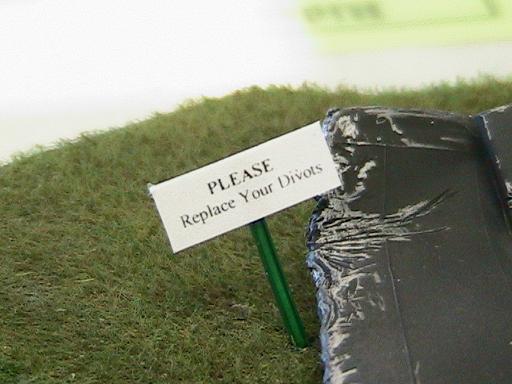
Final Touch
While building the AD-5 dio, I realized that it was actually a bit difficult to see that it had landed on a golf course.
It needed something. While passing a local golf course I happened to see a small sign saying "Replace your divots". Perfect! |
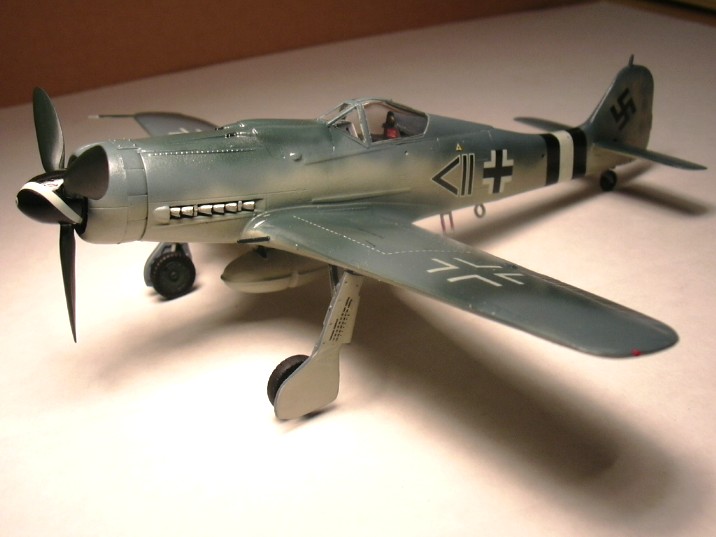
Fw-190d By Bob Ribbens
Some early airbrush work by a gentleman whom I met while at work. Shows what can be done with just a little bit of practice! Good job Bob! |
|
|
|
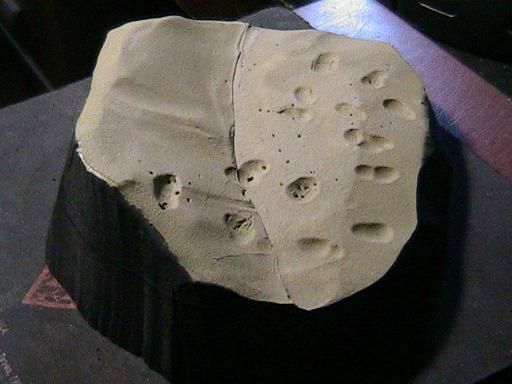
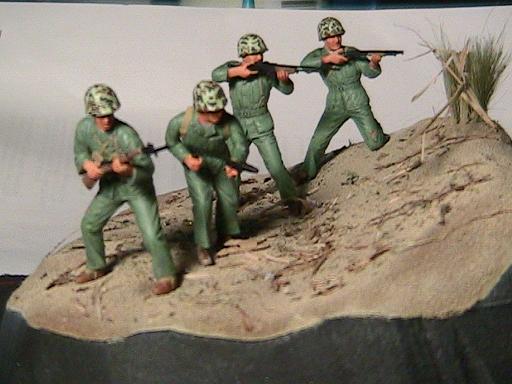
Start of the Iwo Jima Diorama
A standard beginning consisting of two layers of blue foamboard, textured with a cigarette lighter and given basic colouring. |
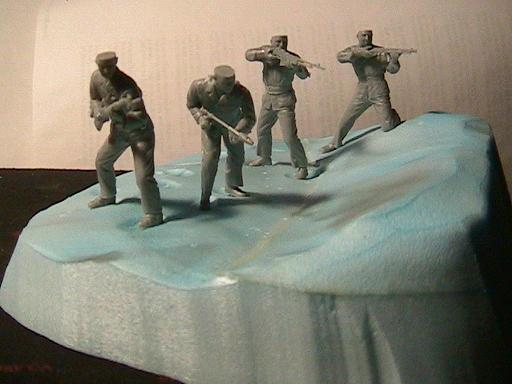
Initial posing of figures.
The figures are tacked together temporarily. A pin has been added to each one to hold them upright.
|
|
|
|
Base covered, Figures in basic colour.
After basic colour, the base recieved a coat of wood glue covered with fine sand.
Various scraps of grass and plants were sprinkled about and the whole thing soaked in woodland scenic cement.
|
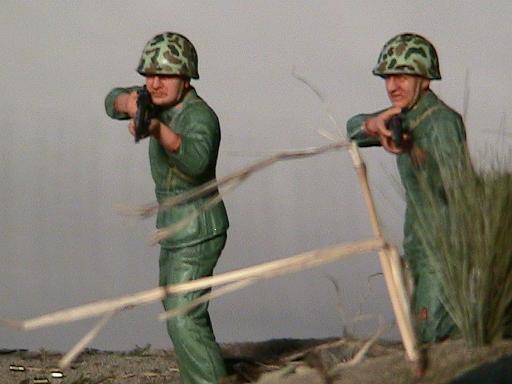
BAR and Trenchgunner
Most of the basic colours have been applied.
Two layers of drybrushing on uniforms,
I'll add insignia and all other colours before final drybrushing.
|
|
|
|
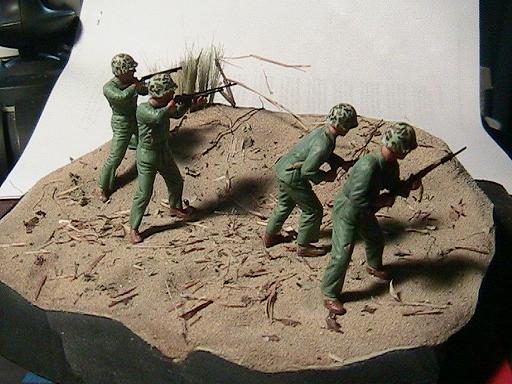
Base is pretty much finished.
The base sand was darker than I liked, so it was airbrushed to a lighter shade.
I picked up miscellaneous bits and pieces of dead grass and house plants
to make a bit of litter to cover the sand. |